As an Amazon Associate I earn from qualifying purchases. This post contains affiliate links. If you buy through them we may earn a commission at no extra cost to you.
Product prices and availability are accurate as of the date and time indicated and are subject to change. Any price and availability information displayed on Amazon at the time of purchase will apply to the purchase of this product. Certain content that appears on this site comes from Amazon. This content is provided "as is" and is subject to change or removal at any time.
Cold doesn’t wreck an outboard over the winter. Water left inside it does, and so does gas left sitting in the carb.
Before you mix a can, check it on the free 2-stroke fuel mix calculator — it also says which oil an outboard actually needs.
That’s honestly the whole idea behind winterizing. Get treated fuel through the system, coat the insides with oil, get water out of every place it could freeze, and park the motor so whatever’s left can drain. Do that in the right order and a small motor usually fires on the second or third pull in April. Skip it, and you’ll probably spend a spring Saturday cleaning a carburetor on a cold garage floor instead.
I winterize my own motor every fall, usually the first weekend the lake drops under 55 degrees and stops being fun. Here’s the order I go in, and why the order matters. It’s the storage part of the maintenance schedule I keep, and your owner’s manual still wins on every detail, especially if your motor is fuel-injected.
Cold doesn’t hurt an outboard. Water and old gas do
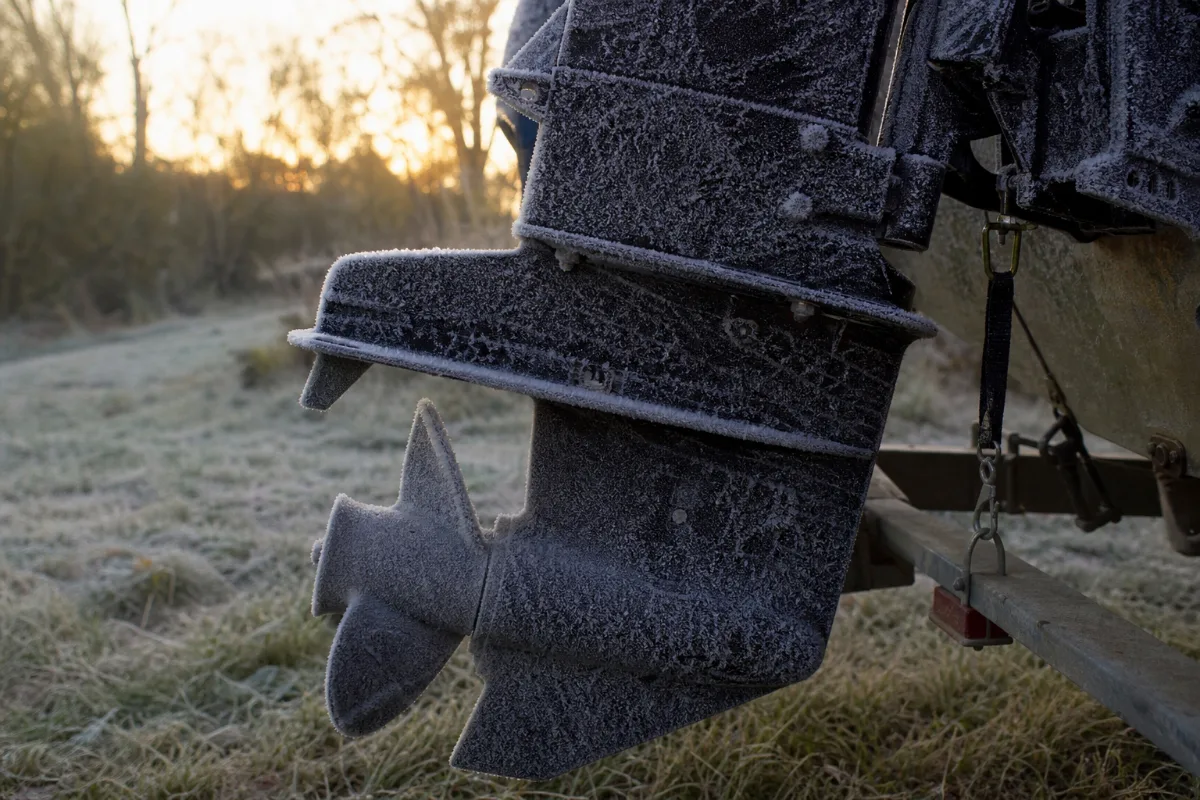
Water gets bigger when it freezes, by about 9%. Trapped somewhere it can’t go, that’s enough to crack metal. On a small outboard there are three places it likes to hide.
- The gearcase. If a seal is leaking, water collects at the bottom of the lower unit, under the oil. That’s what cracked a housing on my first boat, and it cost me a season.
- The cooling passages. Storing the motor upright, in the vertical position, lets most of the cooling water drain out of the engine, though a little can stay trapped whatever you do. Tilted up, more of it sits.
- A flat battery. A charged battery is much harder to freeze than a dead one.
Old gas is the slower problem. Gas can start going stale in a couple of months, and E10, the 10% ethanol blend at most pumps, pulls moisture out of damp air. Over a winter that leaves varnish in the carb, where the jets are tiny. The pilot jet on a small motor is smaller than a pinhead, so it doesn’t take much to block it.
None of this needs deep cold, by the way. A motor stored in a garage that never drops below freezing still ends up with stale gas. So even if you live somewhere mild, the fuel steps are the ones I wouldn’t skip.
Start with the fuel, because the order matters
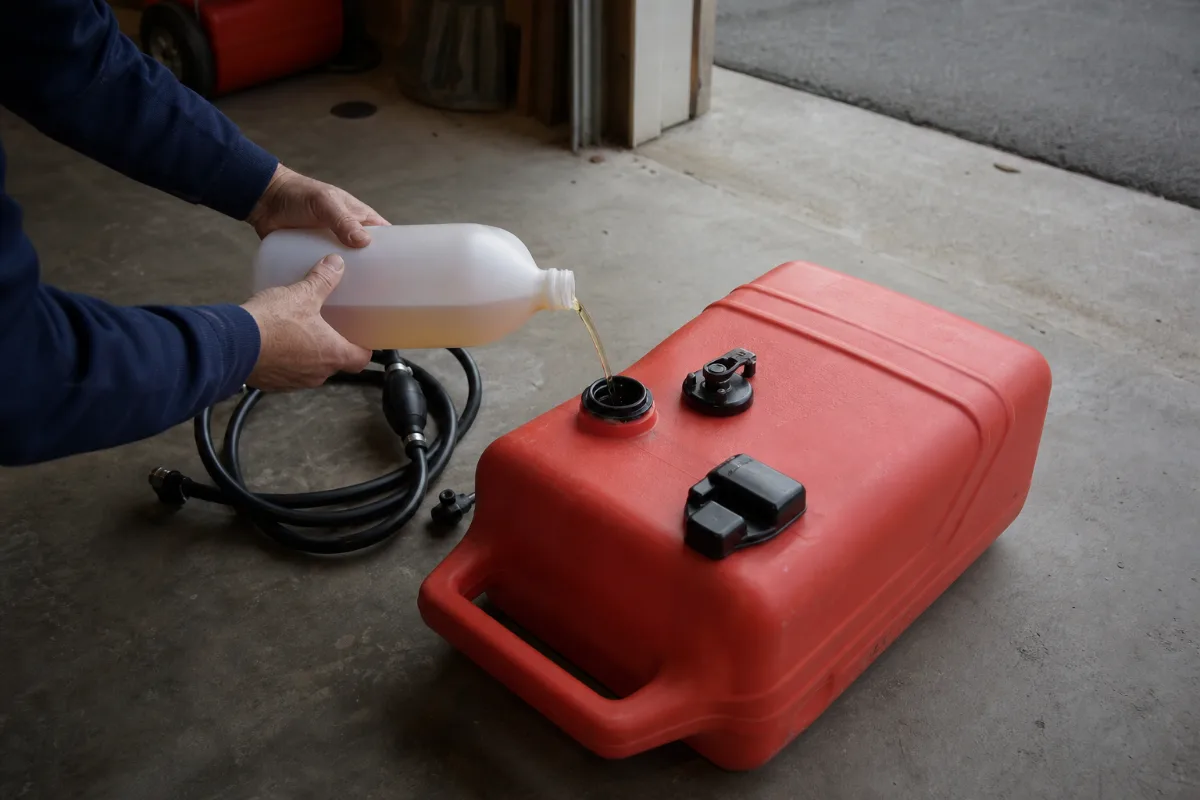
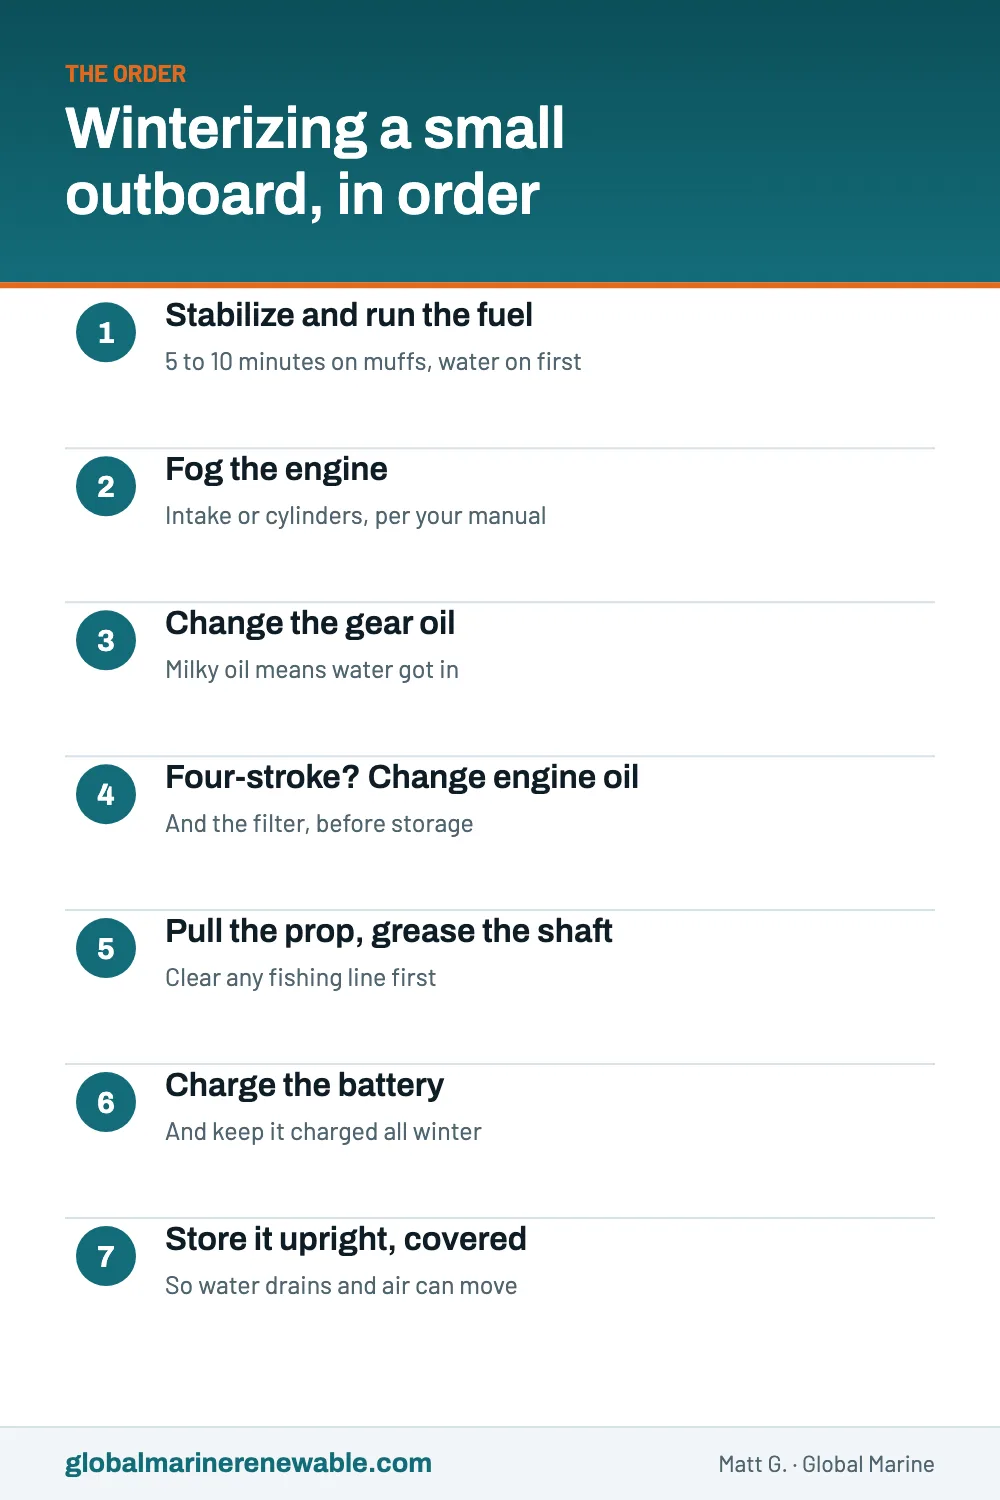
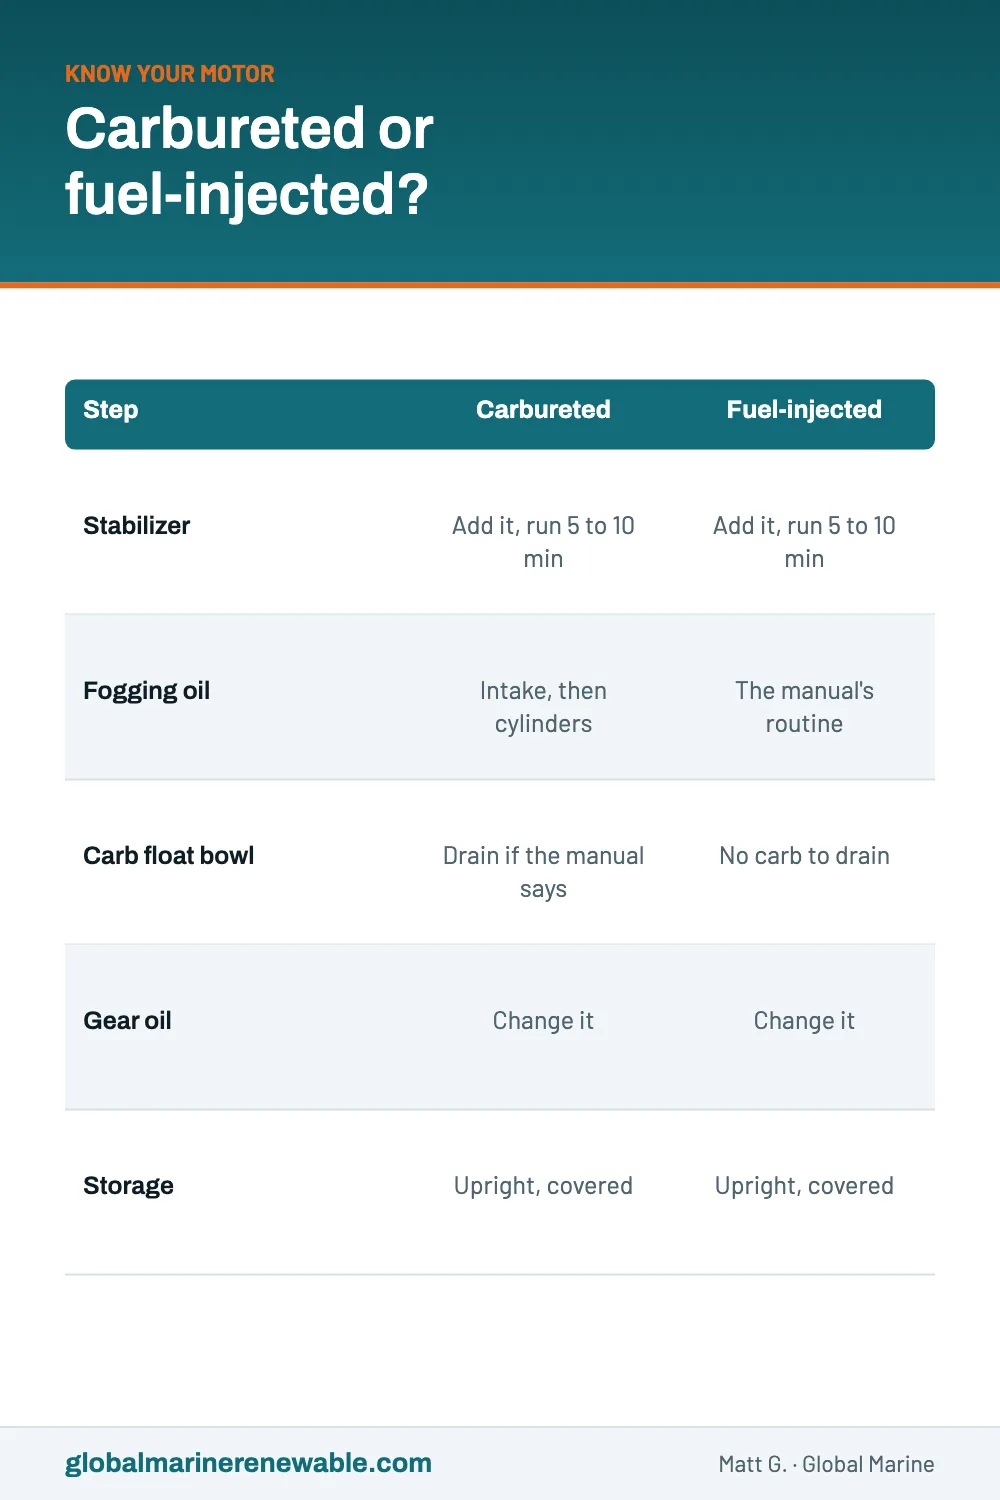
Fuel goes first for a boring, practical reason. Stabilizer only protects the fuel it actually reaches, and running the motor is the easy way to pull treated fuel out of the tank and into the carb or the injectors. The next step, fogging, ends with the engine shut off. Fog first and you’re done running it, with the carb still full of untreated gas.
Here’s how I do it:
- Add a marine fuel stabilizer to the tank, at the dose printed on the bottle.
- Hook up flush muffs and turn the water on before you start the motor. Running it dry on muffs can chew up the water pump impeller fast.
- Start it and let it idle in neutral for 5 to 10 minutes, watching the tell-tale the whole time.
If you’ve never run a motor out of the water, I wrote up how to run it on flush muffs separately. It’s easy. Just don’t walk away from it while it’s going.
Most stabilizers sold for marine engines do this job fine, and I’m not loyal to a brand. The small bottle below is simply the one I can find at every store near the lake, which matters more than you’d think the week before a hard freeze.

- FUEL SYSTEM CLEANER: Cleanses the entire fuel system using PEA additives, including fuel injectors, lines, & fuel pumps. This advanced formula removes water, gum, and varnish, ensuring optimal performance & longevity of your fuel system while preventing corrosion.
- CORROSION PROTECTION: Industry-leading rust and corrosion protection & designed for in-season cleaning & the protection of internal fuel system parts.
- PERFORMANCE BOOSTER: Designed to optimize fuel performance which contributes to enhanced gas mileage & improved engine power. This advanced formula cleans & protects the fuel system, allowing for efficient combustion & prolonged engine life.
$9.98
Paid link · price checked October 16, 2026 15:04
On a carbureted motor, I also drain the float bowl once the treated fuel has run through, if the carb has a drain screw. That leaves barely any fuel in there to gum up. Some manuals would rather you leave the stabilized fuel in the carb, so check yours. Either choice beats leaving untreated gas in there all winter.
Fogging oil, and when to leave the intake alone
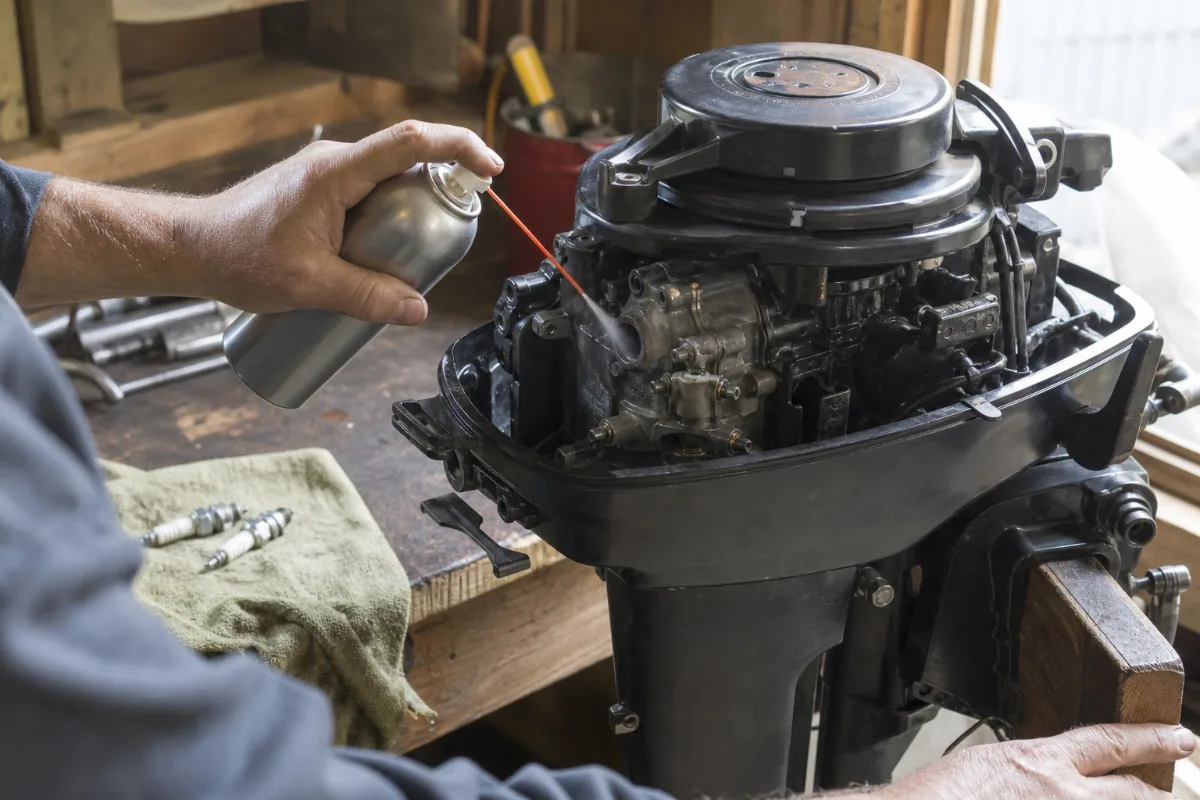
Fogging oil is a sticky spray that coats the inside of the engine so the cylinder walls don’t rust while the motor sits. Turns out months of damp air on bare metal is exactly how you get a motor that turns over stiff in spring.
On a carbureted motor, the usual routine goes like this. With the motor still running on the muffs after the stabilizer run, bump the idle up a little and spray fogging oil into the carb’s air intake in short bursts. It’ll smoke like crazy. Keep going until it smokes heavily and starts to stumble, then shut it off and turn the water off.
Next, pull the lanyard and the spark plug wires so nothing can fire. Take the plugs out, give each cylinder a short burst of fogging oil, and turn the flywheel over slowly by hand 3 or 4 times to spread it around. The plugs go back in after that, and if they looked tired, this is a good time for new ones.
A fuel-injected motor is a different story. A lot of makers have their own storage routine for those, and some tell you not to spray fogging oil into the intake at all. Read that page of the manual before you grab the can. (Seriously, read it. Generic advice is how people get this one wrong.)
Your neighbors will probably wander over to ask about the smoke. It clears in a few minutes, and it makes for a decent excuse to show off the boat.
Gear oil comes out before the freeze
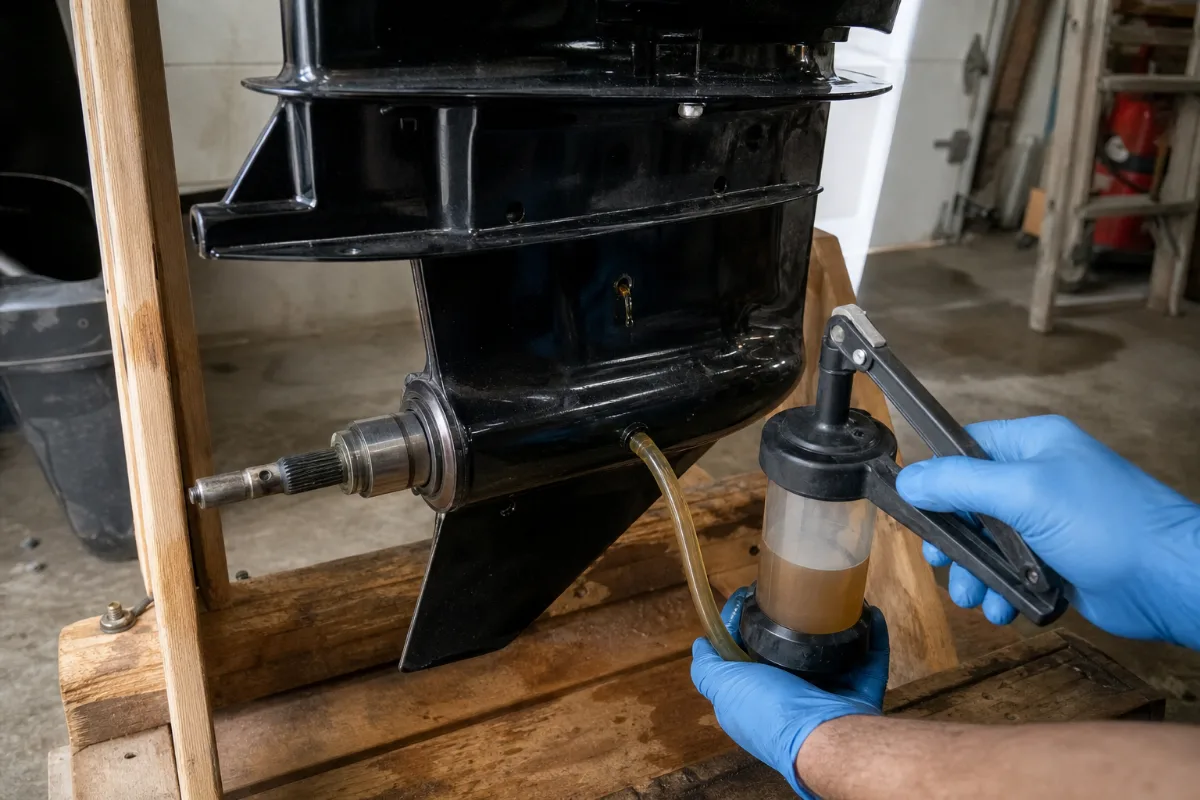
If I could only do one step in this whole post, it’d be this one. Old gear oil isn’t really the danger. Water hiding under it is, and water in a gearcase over a freezing winter is no joke.
Keep the motor straight up and down, set a clean pan underneath, and take out both the bottom drain screw and the top vent screw. The oil drains a lot faster once the vent is out and air can get in up top. Leave it until it stops dripping.
Now look at what came out, because it’s telling you something.
- Clear and about the color it went in: good. Carry on.
- Milky or creamy: water got in, usually past a seal. Don’t just refill it and forget about it. A gearcase that takes on water needs its seals looked at before next season.
- A fine gray paste on the drain screw: if your drain screw has a magnet, a little of that is normal wear on a lot of motors. Chunks or flakes aren’t.
To refill, pump new gear oil in through the bottom hole until it comes out the top with no air bubbles. Put the top screw back in first, then pull the pump and quickly put the bottom screw in. Use new sealing washers on both screws. They cost a couple bucks, and a squashed old one is an easy way for water to get back in.
I go through the whole job step by step in my gear oil change walkthrough. And if you run a four-stroke, change the crankcase oil and filter now too, so used oil isn’t sitting in the engine all winter.
Pull the prop and check what’s behind it
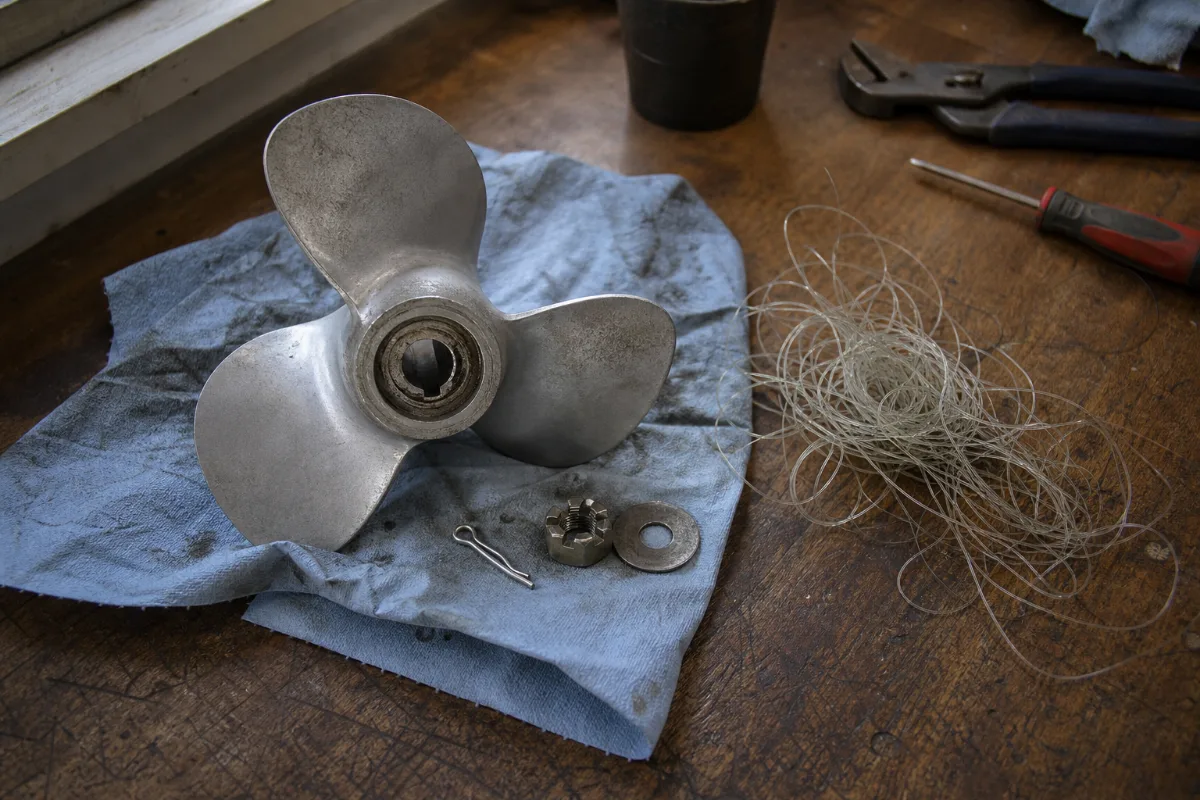
This is the part people skip, because the motor already seems done. It takes me about 20 minutes, give or take.
Pull the prop. Straighten and pull the cotter pin, take off the nut and any washer behind it, and slide the prop off the shaft. Pay attention to the order the parts came off in, because they go back on the same way. Then look behind it. Fishing line wrapped around the shaft is a total pain to spot until the prop is off, and line can work its way into the seal back there, which is one of the ways water gets into the gearcase in the first place.
Before the prop goes back on, coat the shaft splines with marine grease so it doesn’t corrode onto the shaft over the winter. Check the blades for dings while you’re holding it.
Grease the fittings your manual lists. The swivel bracket and the tilt tube usually have them. Stop when fresh grease starts pushing the old stuff out.
Check the anodes. These are the small metal blocks that corrode so the rest of the motor doesn’t. Swap them once they’re about half worn away. And don’t paint them, because paint insulates an anode and it stops protecting anything.
And if your water pump impeller is due, fall is a great time to swap the impeller. The motor’s already half apart, and nobody is buying parts in November.
Batteries, the tank and the fuel line
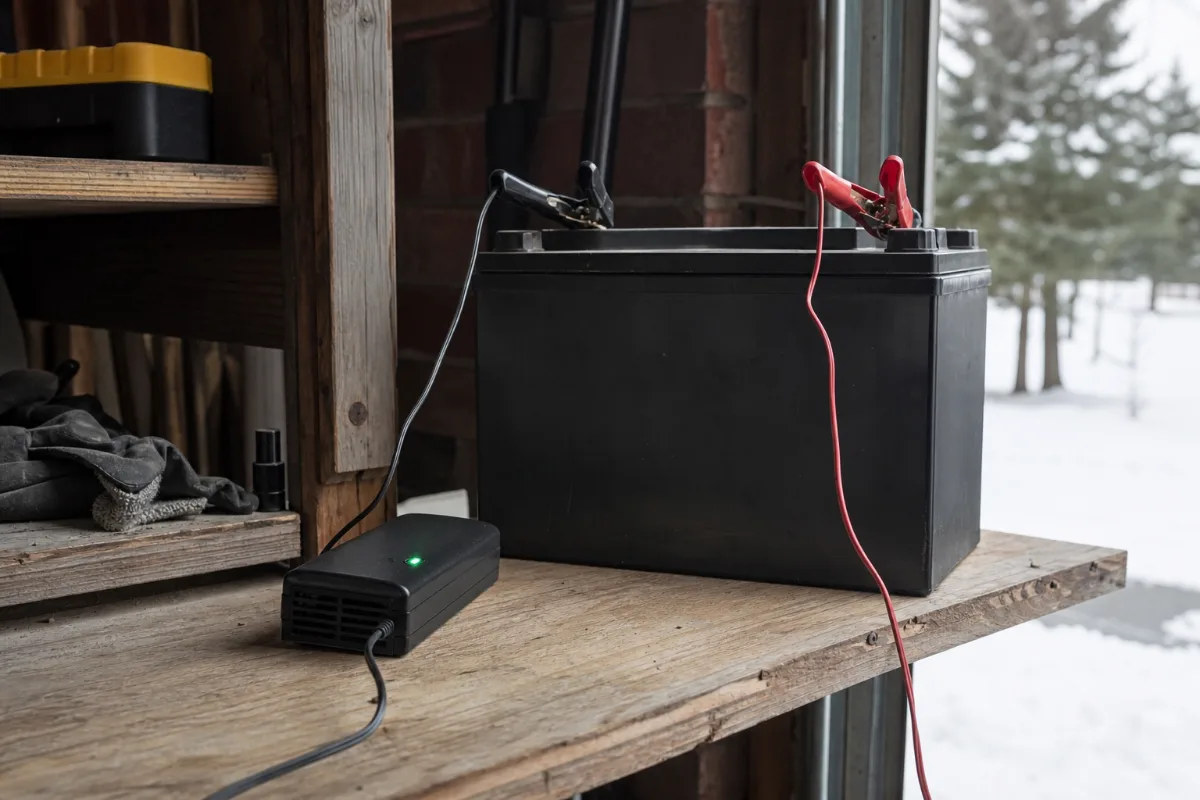
Hear me out on the battery. If your motor has electric start, it’s one of the parts most likely to be dead in April, and it’s also the easiest one to protect.
Disconnect it, negative cable first, and charge it all the way up. Then keep it charged through the winter, either on a battery maintainer or with a top-up charge every 30 days or so. A fully charged battery is much harder to freeze than a flat one, and a battery that freezes can crack its case. Keeping it charged is also one of the bigger factors in how long a marine battery lasts.
For a portable tank, I leave it nearly full of stabilized fuel with a little room for the gas to expand. Some folks run theirs empty instead, and honestly the stabilizer matters a lot more than which way you go. Then I disconnect the fuel line from the motor. Store the tank somewhere ventilated, out of the house, and away from anything with a pilot light or a spark.
A built-in tank is more of a judgment call, and the marinas around here don’t all agree on full versus empty. Go with whatever your boat’s manual or your mechanic says for your setup.
Where it sits until spring

A small portable motor comes off the transom and goes on a stand in the garage or shed. Keep it upright so any water left in the cooling passages runs out. If a bigger motor stays on the boat, the manuals I have read say to store it in the vertical, down position rather than tilted up, and that is what I would do. Some small four-strokes can be laid on one side to move them, but only on the side the manual shows, since oil can run where it shouldn’t.
Cover it with something that breathes. A plastic tarp wrapped tight looks tidy and traps condensation right against the motor, which is kinda the opposite of what you just spent an afternoon doing. I use a breathable cover made for the job, and it’s worth the few extra bucks.
Mice love a quiet cowling in a quiet garage. I pop the cowling off once around mid-January just to look, because a nest in there is a lot easier to deal with in January than at the ramp in May.
Come spring, the list is short. Reconnect the battery, put fresh gas in, check the gear oil for water, and run it on the muffs while you watch the tell-tale for a strong stream. If it won’t idle after all this, the carb probably still needs attention, and I’ve covered cleaning a gummed-up carb step by step.
If I only had an hour this fall, I’d spend it on the stabilizer run and the gear oil, and let the rest wait a weekend.