As an Amazon Associate I earn from qualifying purchases. This post contains affiliate links. If you buy through them we may earn a commission at no extra cost to you.
Product prices and availability are accurate as of the date and time indicated and are subject to change. Any price and availability information displayed on Amazon at the time of purchase will apply to the purchase of this product. Certain content that appears on this site comes from Amazon. This content is provided "as is" and is subject to change or removal at any time.
The mechanic at the marina charged $180 to clean a carb that took 22 minutes and $9 of Berryman B-12 Chemtool to fix. And he still left the pilot jet clogged. I know because the engine died at idle the second time I took it out — middle of the lake, wind picking up, boat loaded with gear — and I ended up doing the job myself on a Tuesday afternoon with my shoes off on the dock. This is the sequence that actually works. Not the spray-and-pray into the air intake that every YouTube video shows. The actual sequence, with products, dwell times, and the specific access points that matter.
When No-Removal Cleaning Actually Works — and When It Doesn’t
Most YouTube tutorials skip the triage step because it shortens their video. That’s a real waste of your time if your engine has the wrong kind of problem.
No-removal cleaning works on light varnish and partial gum deposits. The kind you get from leaving fresh fuel in a carb over a normal winter. It does not work on hard lacquer buildup, a float needle that’s grooved or stuck, or emulsion tubes that are completely sealed. Those need the carb off the engine and soaked in a bucket, full stop.
Not sure how much oil goes in? The free 2-stroke fuel mix calculator gives the exact figure for any ratio, in ounces and millilitres.
Here’s the honest go/no-go call: if the engine sat with ethanol-blend fuel for more than 90 days, you’re looking at roughly a 40% success rate with no-removal cleaning. Nine dollars of B-12 is worth the try — I’m not saying skip it. But go in with realistic expectations. And if you’re on an older engine with 500 hours or more, a bad idle might be float needle wear, not varnish. No amount of cleaner fixes a needle that’s been seat-lapped by years of vibration.
The misconception I want to kill right now: there is no concentration of cleaner strong enough to blast through a truly blocked emulsion tube without removal. More product doesn’t fix a structural problem.
The One Jet Everyone Skips: Why the Pilot Jet Kills More Engines Than the Main Jet
The pilot jet runs the engine from cold start through low throttle. If it’s blocked, your engine idles rough, dies at low RPM, or won’t come down off high idle after you crack the throttle. It’s the most common symptom I see on small outboards that have sat over winter.
Here’s the size problem. On most 2–40 hp outboards, the pilot jet orifice is 0.3 mm to 0.5 mm in diameter. The main jet runs 0.8 mm to 1.2 mm — you can almost see daylight through it. Varnish fills the pilot jet first because it’s tiny, and the fuel flow through it during normal operation isn’t strong enough to keep it clear the way the main circuit does.
Spraying cleaner into the air intake throat does not reach the pilot circuit. The pilot jet feeds into the carb body through a completely separate passage that exits at the throat side wall, upstream of the main venturi. Cleaning a carb without specifically targeting that circuit is the same as washing a car and skipping the wheels. Looks fine from a distance. Isn’t.
Product Matchup: Berryman B-12 vs Sea Foam vs Generic Aerosol
I’ve used all three. My honest take, which some people argue with online:
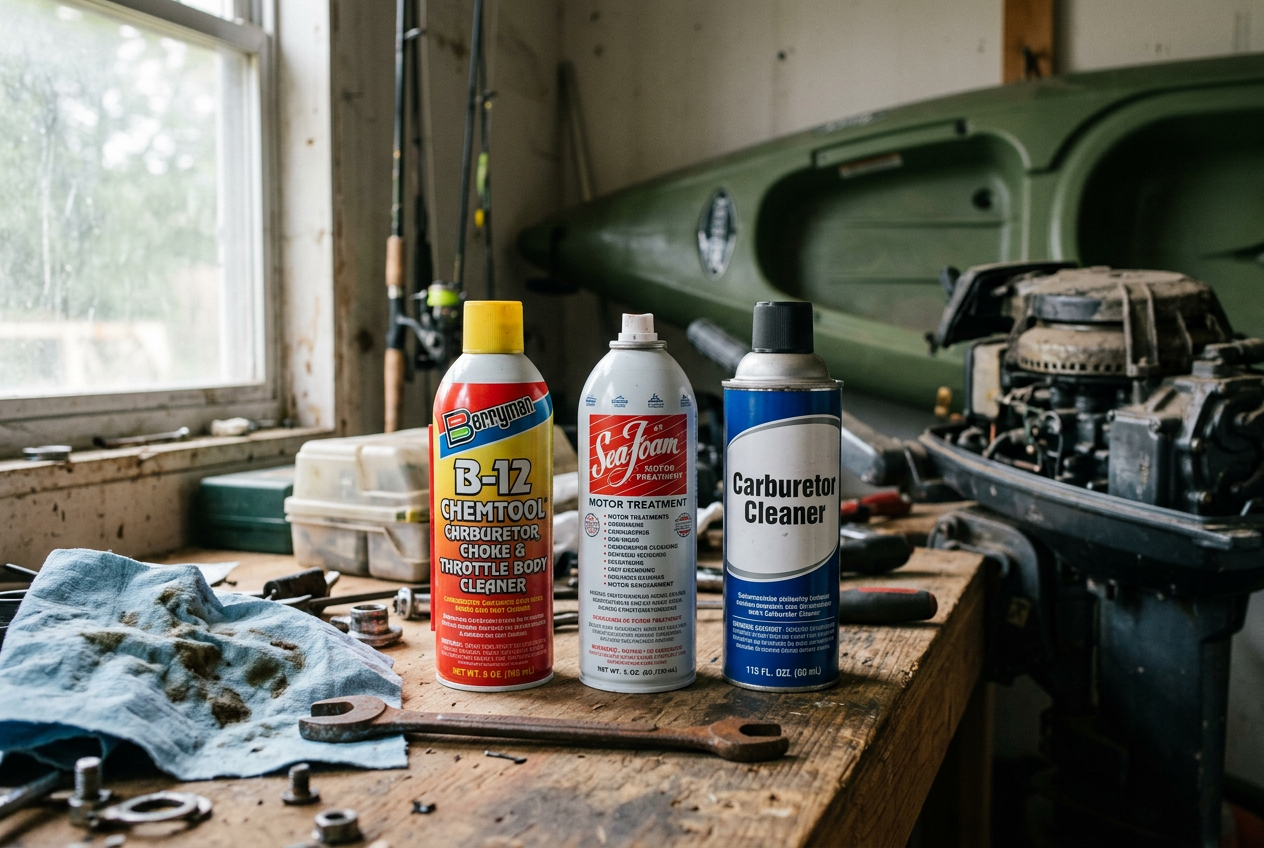
Berryman B-12 Chemtool #0116, about $9 for 12 oz at AutoZone, is the strongest thing you can safely spray into a marine carb. Highest chlorinated solvent concentration in the consumer market. It will strip paint, so keep it off your cowling. But on actual varnish and gum deposits, nothing I’ve used in 15 years of doing this myself touches it.
Sea Foam SF-16, around $12 for 16 oz, is petroleum-based and rubber-safe. I genuinely like it for monthly fuel system maintenance — keeps things from gumming up in the first place. But it’s the wrong tool for a clogged jet. Not aggressive enough to dissolve hard deposits in a reasonable dwell time. Sea Foam is overrated for heavy varnish and underrated for preventive use. That’s my assessment and I’ll die on that hill.
Generic aerosol carb cleaner, like the WD-40 branded version at about $6, is acetone-forward. Evaporates in under 60 seconds. That’s not enough contact time for jet penetration — you need a minimum of 3–4 minutes of dwell on a blocked passage for any meaningful dissolving action. Buying the $4 generic to save money on a $300 outboard repair bill is genuinely the worst ROI in small-engine maintenance. I made that call once. Once.
The Exact Spray Sequence: Fuel Bowl Drain Port, Pilot Air Bleed, Idle Mixture Screw
The fuel bowl drain port is the single highest-value access point for no-removal cleaning, and almost no guide mentions it by name. You’re introducing cleaner directly into the float chamber, which then reaches the jet passages from the bottom up as it works through the circuit. Turn the drain screw out two turns, spray 3–4 seconds of B-12 into the port, let it sit. That’s your foundation for the whole sequence.
Then find the pilot air bleed port. On most carbs it’s a small hole on the carb throat side wall — not in the main venturi, closer to the engine side than the intake side. Spray a 3-second burst in. Let it dwell for 4 full minutes. Repeat twice. Anything shorter is a rinse, not a clean. I started actually setting a timer on my phone for this step because I used to rush it and then wonder why the idle was still hunting on the water.
Total cleaner used per carb in this sequence: roughly 2 oz of B-12. You don’t need to drench it.
The idle mixture screw on most Yamaha and Mercury 2-strokes sits at the 6 o’clock position on the carb body, and the baseline setting is 1 to 2 turns out from lightly seated. Back it out to access, spray a 1-second burst of cleaner directly into the port, let it dwell, then confirm with a visual bubble test: spray a tiny amount of soapy water near the passage opening and watch for bubbles when you briefly crank the engine. Bubbles mean airflow. Airflow means the passage is open.
2-Stroke Specific: How the Reed Valve Complicates Everything
Half the “carb cleaning made it worse” stories on forums are actually reed valve damage from over-soaking. I’m confident in that number because I’ve watched the threads, and the timeline always matches: someone floods the carb with cleaner, runs it, and suddenly the idle is fluttering and rough in a way that doesn’t respond to any carb adjustment.
That’s the reeds. Not the carb.
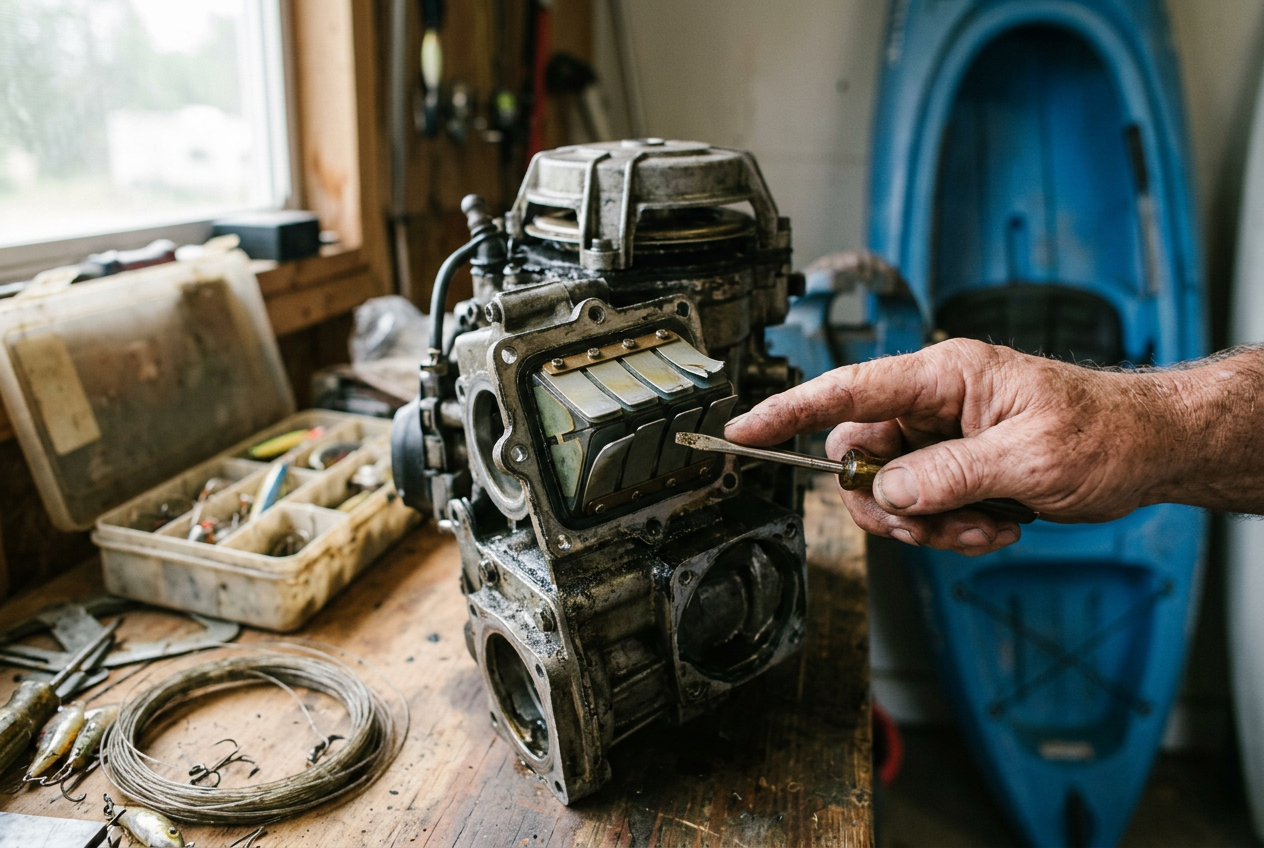
On a 2-stroke, the reed valve sits between the carb and the crankcase. Reed petal thickness on most small 2-strokes is around 0.3 mm. Aggressive chlorinated solvent pooled above the reeds for a long dwell time can swell worn petals, and a swollen reed causes a fluttering idle that mimics a dirty pilot jet almost exactly. You’ll chase the carb forever.
The rule: don’t let more than 4 oz of liquid cleaner pool above the reed valve in a single session. Run the engine briefly between soak cycles. Thirty seconds at idle is enough to clear excess liquid before you go back in with more product. A 4-stroke carb clean and a 2-stroke carb clean are not the same procedure. Treating them identically is how you create a new problem while solving the original one.
Reading the Smoke: How to Know the Clean Worked Before You Leave the Dock
A 30-second WOT run in a test tank gives you more diagnostic information than any visual inspection of the carb exterior. I know test tanks aren’t always available at the dock, but if you have access to one, use it. If not, a controlled idle test plus a partial throttle snap is the minimum before you call the job done.
Target idle RPM for most 4–15 hp outboards is 700–900 RPM. Get it stable there first. A clean carb on a healthy 2-stroke should snap from idle to WOT without a 1–2 second bog in the middle. That bog is the pilot circuit handing off to the main circuit — if that handoff is rough, the pilot isn’t clean yet.
If RPM hangs high after you release the throttle, the emulsion tube passages are still partially blocked. That’s a different problem from a clogged pilot jet, and it usually means the carb needs to come off for a proper soak. Don’t declare success at idle and call it done. Do the full-throttle confirmation. Every time.

Prices, Kits, and What You Actually Need to Buy
Concrete list, because I hate when posts make you work for this:
Berryman B-12 Chemtool 12 oz runs $8–10 at AutoZone or Amazon. That’s your primary solvent. A can of Dust-Off or equivalent compressed air is about $8 and clears loosened debris from passages after the cleaner has done its work. Safety glasses: you have some, use them. Chlorinated solvent in the eye is not a minor inconvenience.
The tool most people don’t have: a Titan #65 drill bit set, about $12 on Amazon. This is for soft-probing jets — never for power drilling. You spin it by hand between your fingers to break up a deposit that’s been softened by the cleaner. Do not put it in a drill. Do not even think about putting it in a drill.
Drain pan under everything. Total kit cost lands under $35. That’s the complete no-removal clean.
After the Clean: The 10-Minute Habit That Prevents the Next Clog
Running the engine dry at the end of every season is more protective than any stabilizer product on the market. Stabilizers slow oxidation and ethanol phase separation in stored fuel — that’s real, they do that. But they can’t fully prevent varnish formation if there’s fuel sitting in the float bowl all winter. Empty the carb and there’s nothing to varnish.
That said, the mistake I see constantly is adding stabilizer to a full tank right before storage and never running it. The stabilizer needs to circulate through the carb circuits to do anything useful. Add it, then run the engine at idle for 5 minutes before you shut it down for the season. The treated fuel has to actually reach the jets.
Star Tron Enzyme Fuel Treatment is what I keep in my shop. Maintenance dose is 1 oz per 6 gallons. If you’re treating fuel that’s already showing signs of degradation, drop it to 1 oz per 3 gallons. An 8 oz bottle runs about $10 and lasts longer than you’d think at those doses.
One more thing on ethanol: if you’re near a marina that carries ethanol-free premium, use it. Ethanol-free fuel keeps carb passages clean an estimated 3–4 times longer than E10. It costs more per gallon. It costs a lot less than a season of rough starts and a marina bill you didn’t want.
Our picks
Our original pick has been discontinued by Amazon. This is the closest current match we could find.
![Berryman B-12 Chemtool Carburetor, Choke & Throttle Body Cleaner with Extension Tube [VOC Compliant in All 50 States], 20-Ounce aerosol, 0120C](https://m.media-amazon.com/images/I/41-Hy3cfgbL._SL500_.jpg)
- contains 100% high-energy solvent technology
- quickly dissolves gum, varnish, fuel residue, and carbon build-up
- cleans carburettors, linkages, choke, pcv valve, and throttle body
$16.44 In Stock
Paid link · price checked October 22, 2026 09:31