As an Amazon Associate I earn from qualifying purchases. This post contains affiliate links. If you buy through them we may earn a commission at no extra cost to you.
Product prices and availability are accurate as of the date and time indicated and are subject to change. Any price and availability information displayed on Amazon at the time of purchase will apply to the purchase of this product. Certain content that appears on this site comes from Amazon. This content is provided "as is" and is subject to change or removal at any time.
The water pump impeller is a small rubber wheel with flexible vanes, down inside the lower unit, and it pushes every drop of cooling water your outboard gets. When it quits, the motor overheats. When it quits 3 miles out on a hot afternoon, it takes the day with it. Mine went weak on the water once, and the ride back was slow enough to think hard about maintenance schedules.
Not sure how much oil goes in? The free 2-stroke fuel mix calculator gives the exact figure for any ratio, in ounces and millilitres.
Replacing one is an afternoon the first time and maybe an hour once you have done it. Here’s how I do mine, what should be in the kit, and the couple of places this job bites people. It’s the every-few-years item on the maintenance schedule I keep.
How often, and the signs you’re already late
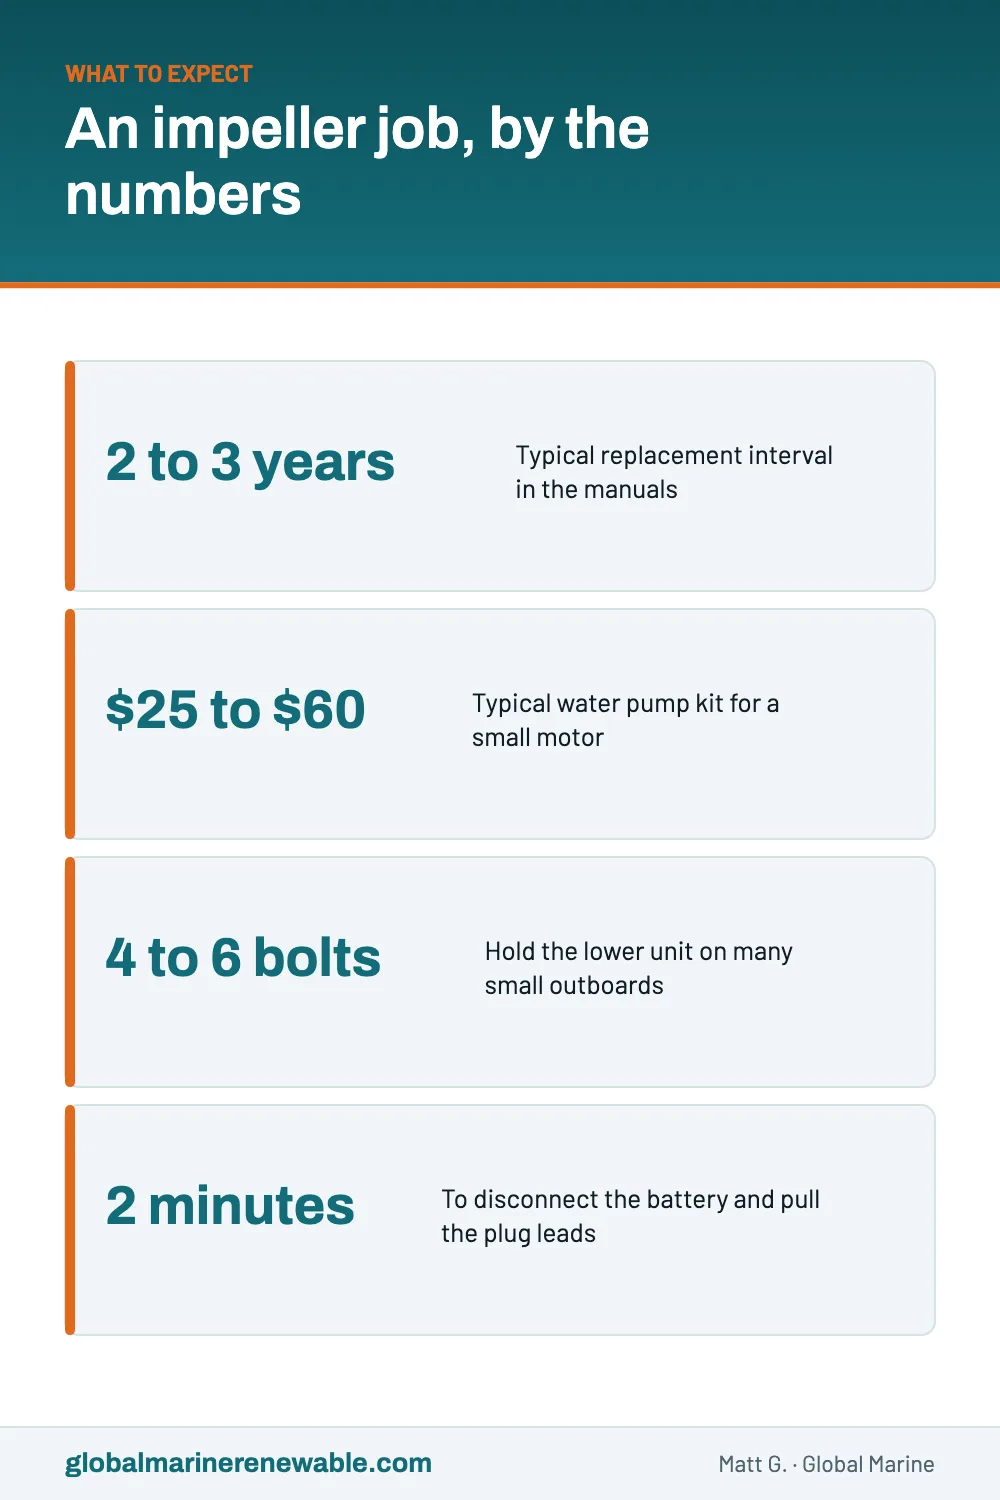
Manuals land somewhere between 2 and 3 years, or a few hundred hours, and most of them say to go sooner if you run in salt or silty water. I do mine every 3 years whether the motor ran 10 hours that season or 100, because the rubber ages on the calendar rather than on the hour meter. An impeller that sits bent all winter takes a set, which is part of why how you store the motor matters. Turns out that one isn’t a myth.
Signs you’re already late:
- A weak tell-tale stream, once you have ruled out a clogged outlet and weedy intakes
- An overheat alarm, or a motor running hotter than it used to
- Bits of rubber in the cooling water, or vanes missing when you finally pull the pump apart
My own rule is simpler than any of that. If I can’t remember the last time it was done, it’s due. An impeller kit costs a small fraction of a powerhead, and honestly that math has never been close.
What the job actually involves
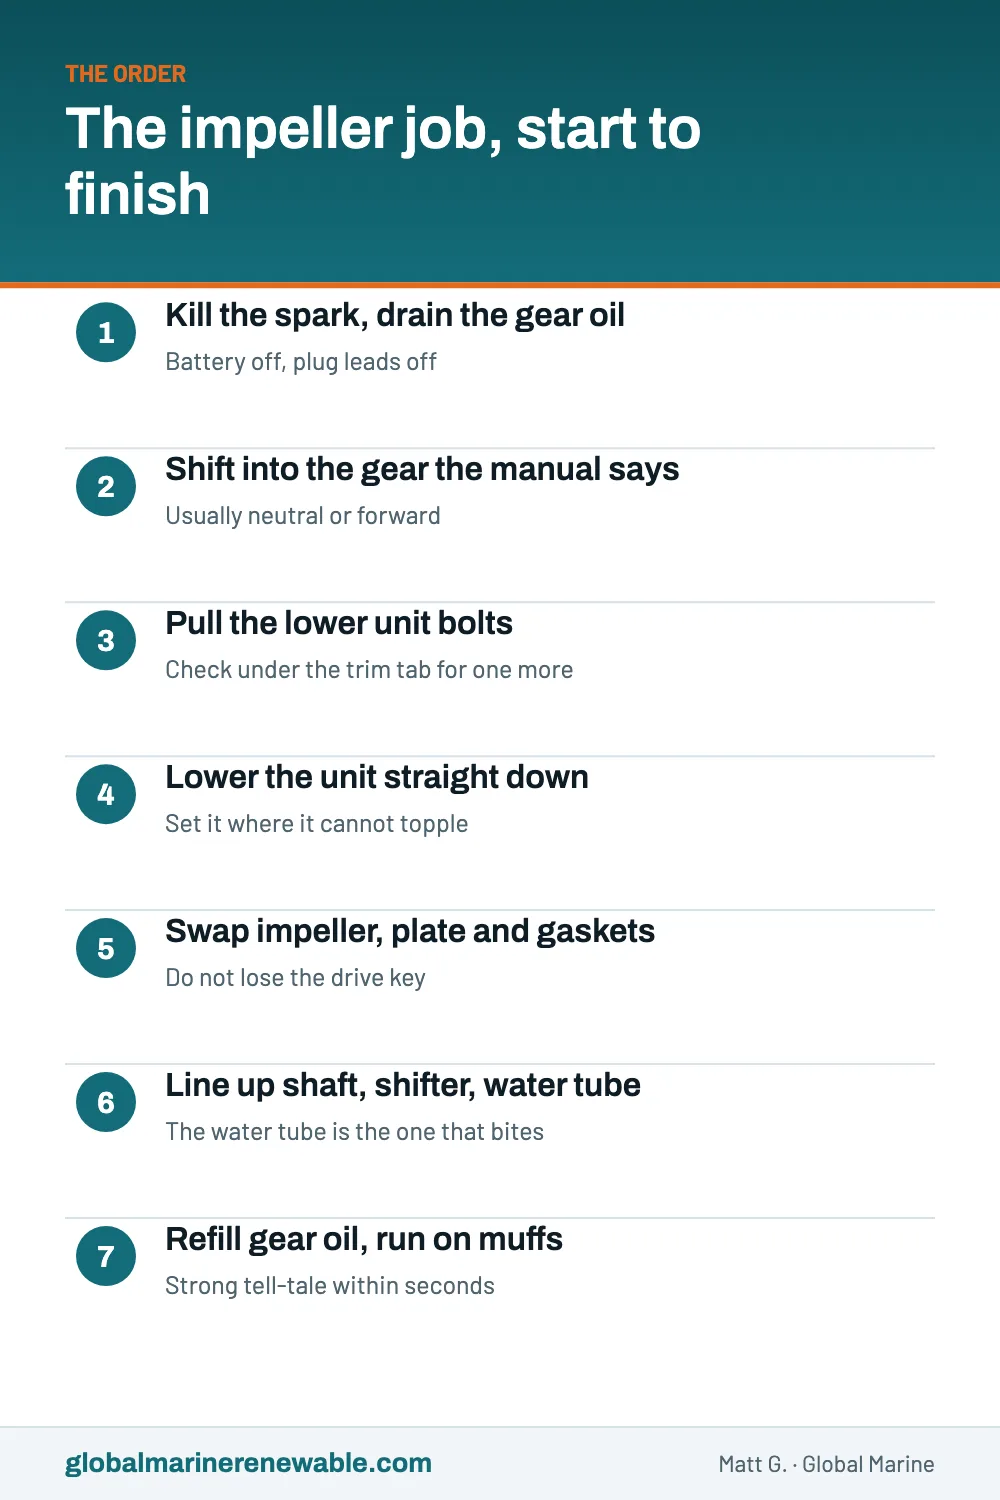
Here’s the shape of the job, so you know what you’re signing up for. The lower unit comes off the motor, because that’s how you get to the pump. The pump sits on top of the gearcase, right where the driveshaft passes through.
On a lot of small outboards that means 4 to 6 bolts, and one of them may be hiding under the trim tab. Then the lower unit comes away downward, once the shift linkage is free and the driveshaft splines let go. The pump housing lifts off the driveshaft, the old impeller comes out, and the new one goes in along with the fresh gaskets and wear plate from the kit.
Two things make this feel harder than it is. The lower unit is heavier than it looks, so have somewhere to set it down. And on the way back up, several parts have to find their homes at the same moment, which is where patience earns its keep. It’s fiddly, not difficult.
Parts and tools before you start
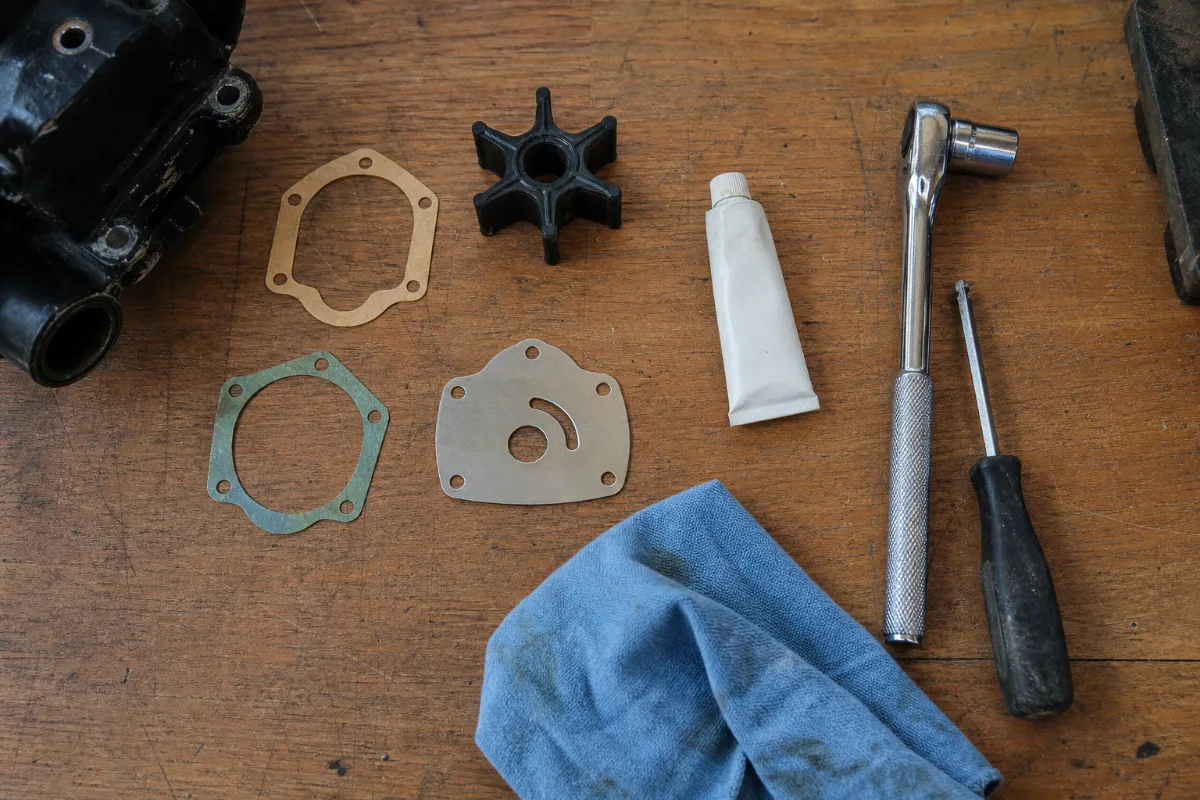
- The full water pump kit for your exact model and serial number range
- Gear lube and new sealing washers, since the gear oil comes out anyway
- Marine grease for the driveshaft splines
- A socket set, a screwdriver, a drain pan, and a torque wrench if your manual gives values
- Something to rest the lower unit on, like a milk crate or a low stool
Hear me out on the kit, because this is where people save fifteen bucks and lose a weekend. The kit matters more than the impeller by itself. A worn pump housing or a scored wear plate can chew up a brand new impeller, and then you’re doing this again next season. A kit for a small motor usually runs somewhere around $25 to $60. Buy it by model and serial number, because two motors that look identical can take different pumps.
The grease matters in one specific way. The driveshaft splines want a light coat of whatever lubricant your manual specifies, on the sides of the splines, so they don’t corrode together over the years. Use the product your manual names for the splines rather than assuming any marine grease will do, because the wrong one in a blind spline can stop the unit seating. One tube lasts me several seasons, give or take how often I lose it.

- Marine Grease 2-4-C with PTFE is a high-quality, versatile lithium‑based NLGI 2 grease that won’t break down in the presence of water
- Excellent general-purpose teflon grease for steering system cables, throttle and shift cables, tilt lock mechanisms, tilt tube, remote controls, prop shaft, swivel pins and trailer wheel bearings
- Contains extreme pressure additives to withstand friction in a wide variety of heavy equipment applications and temperatures
Paid link
Dropping the lower unit
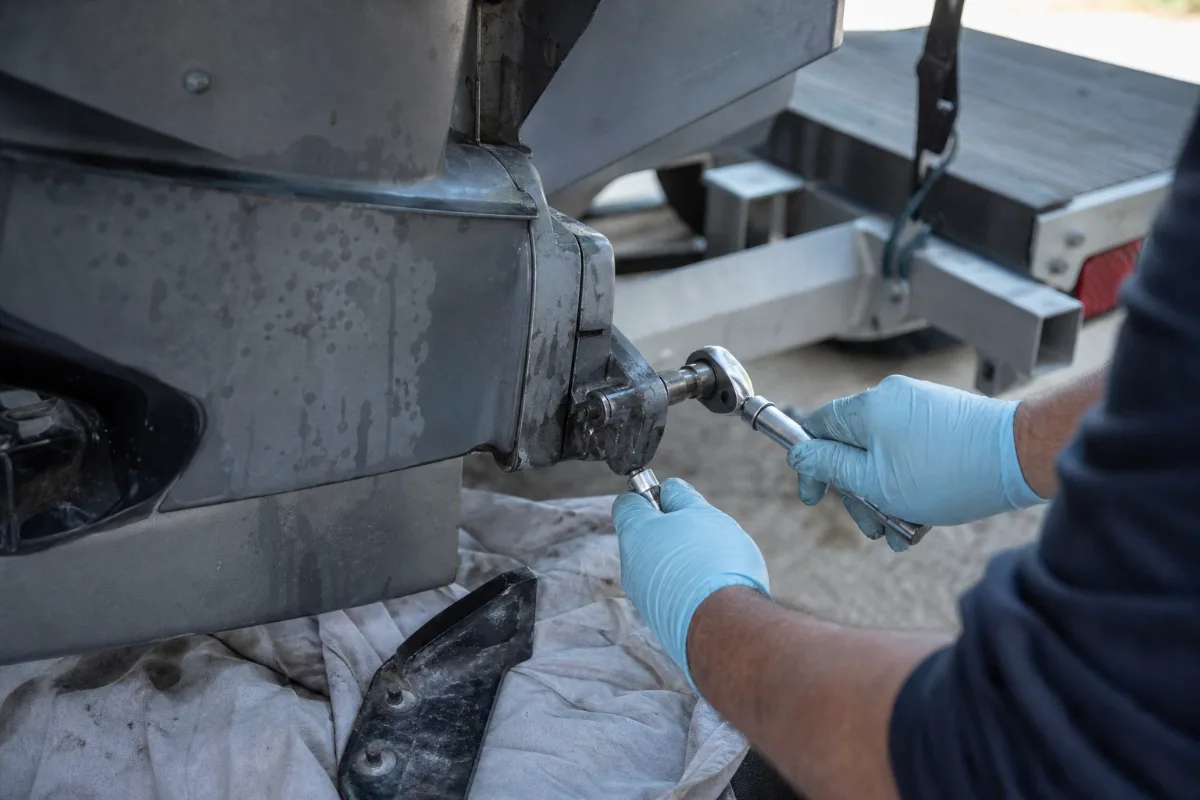
First, make sure the motor can’t start. Disconnect the battery if it has one, and pull the spark plug leads off. That costs 2 minutes, and it removes the worst thing that can happen while your hands are down there. It’s 2 minutes. Just do it.
Drain the gear oil while the unit is still on the motor, into a clean pan, and look at what comes out. I wrote up how to change the gear oil separately, including what milky oil is telling you.
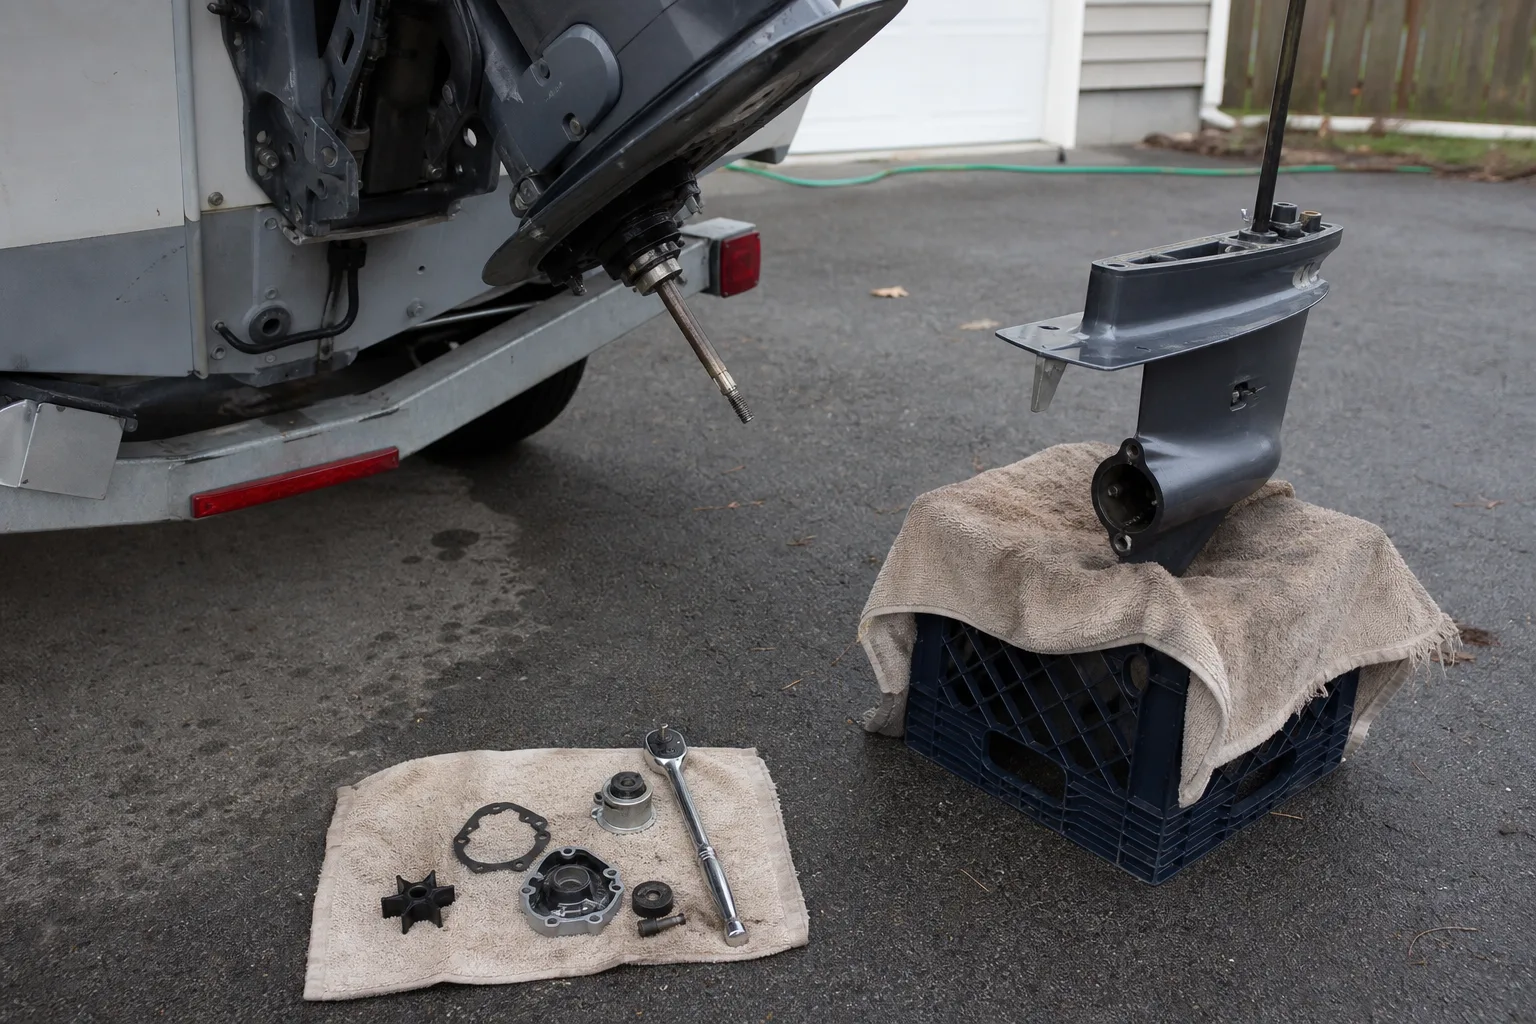
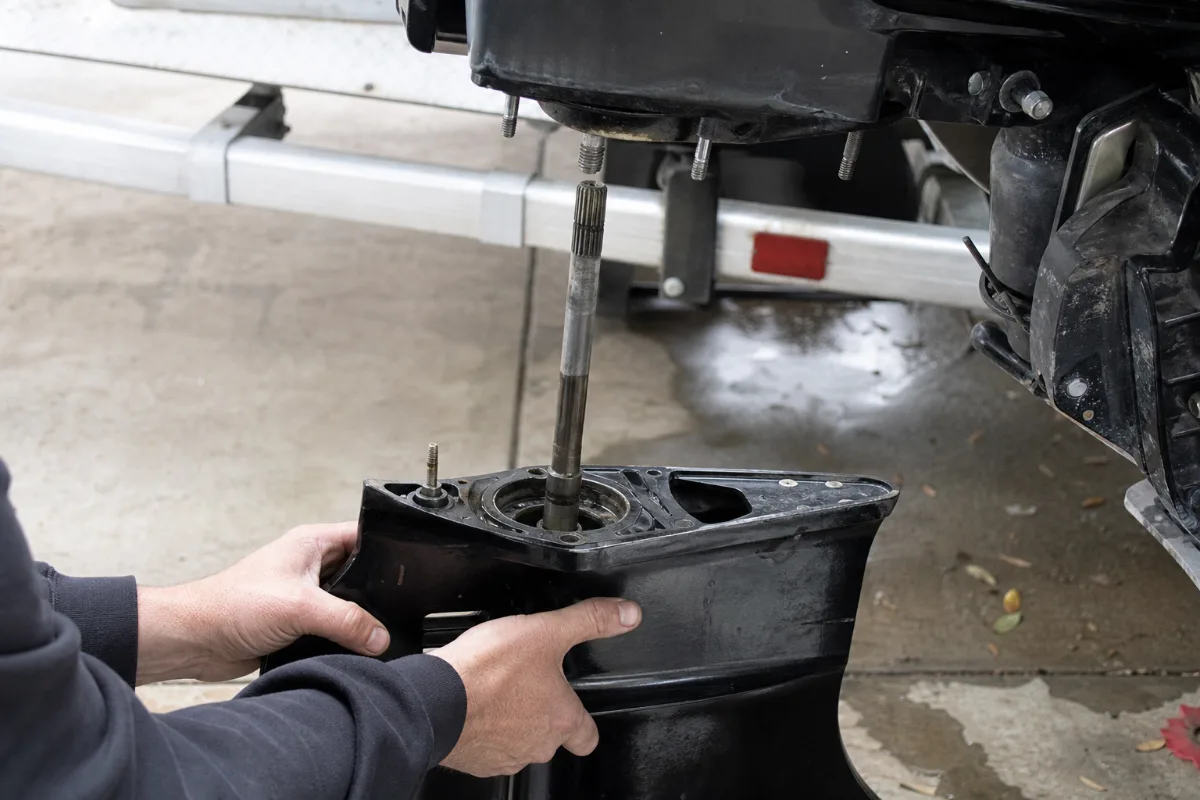
With the motor still hanging on the transom, put it in the gear your manual asks for before you undo anything, so the shift shaft comes apart the way it was designed to. Motors differ on this, and the manual is the only place worth getting it from. Take out the lower unit bolts and check under the trim tab for one more. If the unit is stuck on its dowels, a gentle tap breaks it loose. Lower it straight down, keeping it in line with the driveshaft so nothing binds on the way out.
Set it somewhere it can’t topple. Mine goes on a milk crate with an old towel over it. Not elegant, but it has never dropped a gearcase on my foot. (Gearcases are heavier than they look. Ask my foot.)
Swapping the impeller
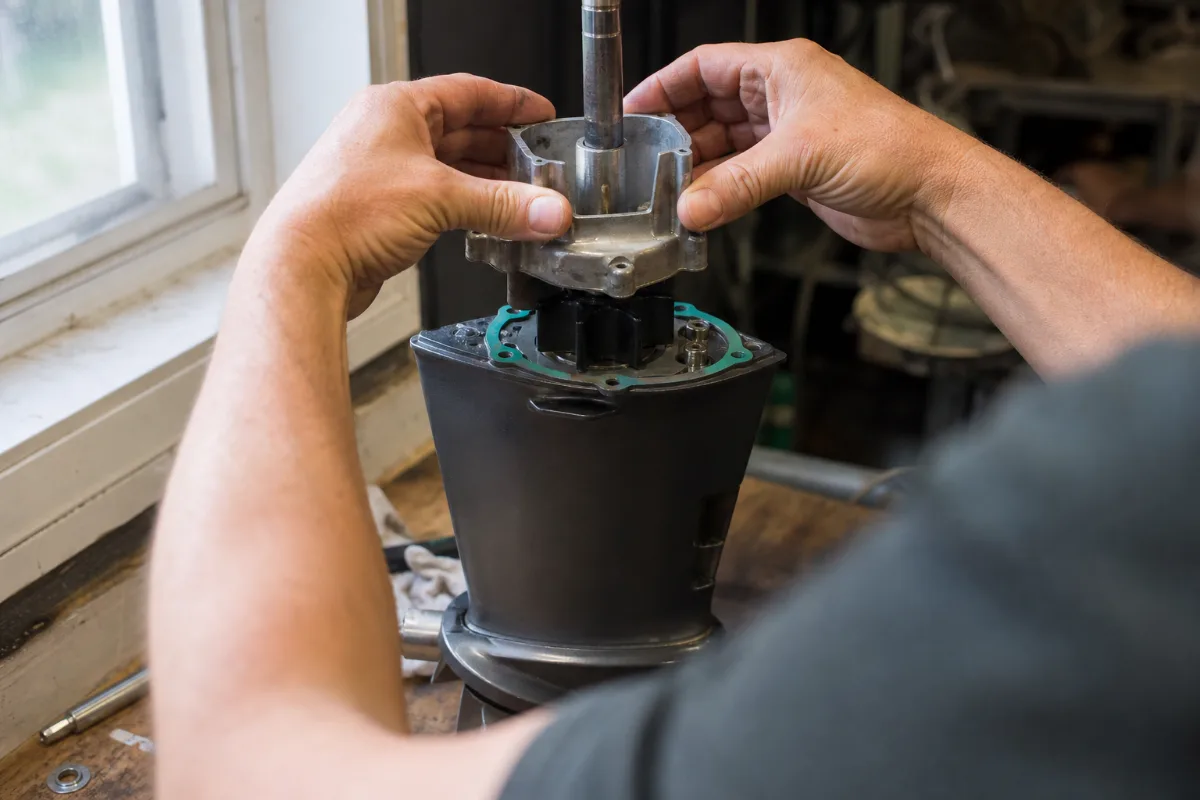
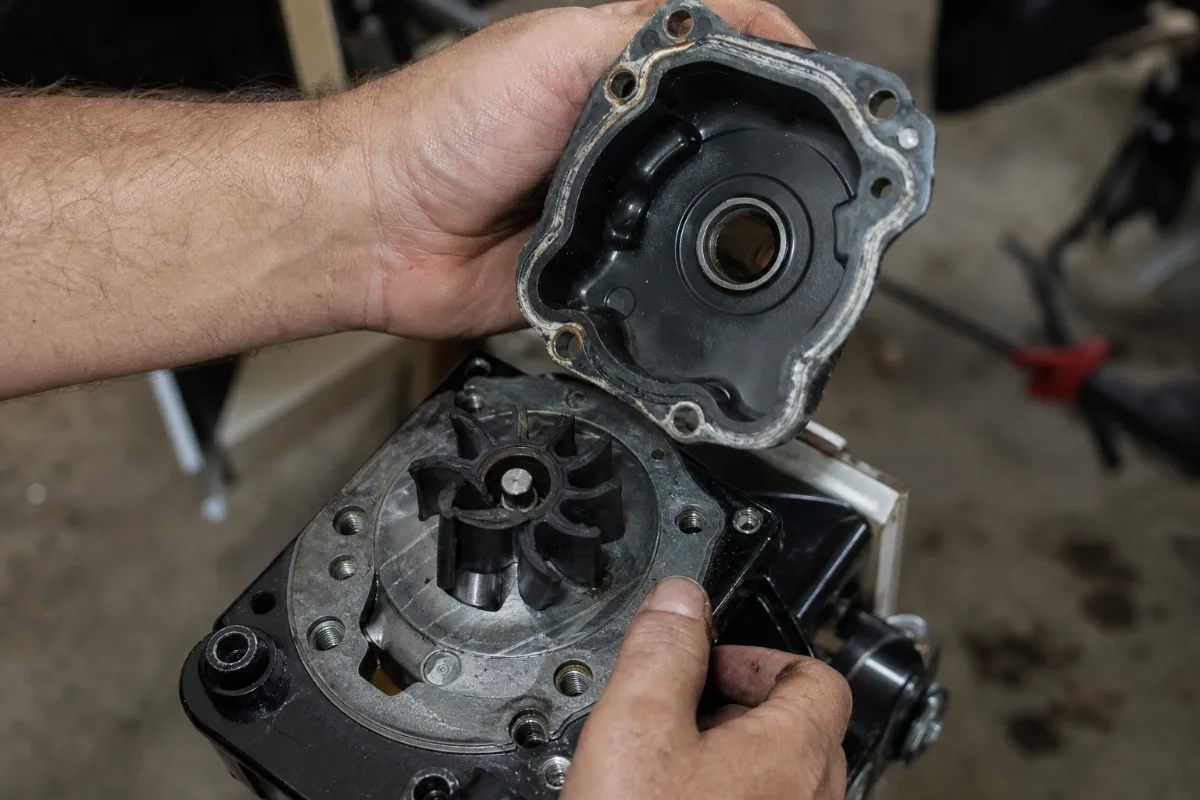
With the lower unit on the bench, the pump is right there on top. Take out the pump housing bolts and slide the housing up the driveshaft and off.
Under it sits the impeller, on the wear plate, with a small key or pin that drives it. Don’t lose that key. No joke, I once spent 20 minutes on a garage floor looking for one.
Pull the old impeller off the shaft and look at it before you throw it away, because it tells you something. Vanes with a permanent curve mean it sat for a long time. Hard, glazed or crumbling vanes mean it got cooked or ran dry at some point. If chunks are missing, go find them before the motor runs again, since loose rubber can lodge in a cooling passage.
Clean the mating surfaces, fit the new wear plate and gaskets from the kit, and put the key back in its slot. (A rag and five minutes. Nothing fancy.) Lubricate the new impeller with whatever your manual specifies, which is often soapy water or a light water-resistant lube rather than ordinary grease.
Then slide the housing down over the impeller while turning the driveshaft the way your manual says, so the vanes fold in the direction they will actually run. Snug the bolts down evenly.
Putting it back without a no-water surprise
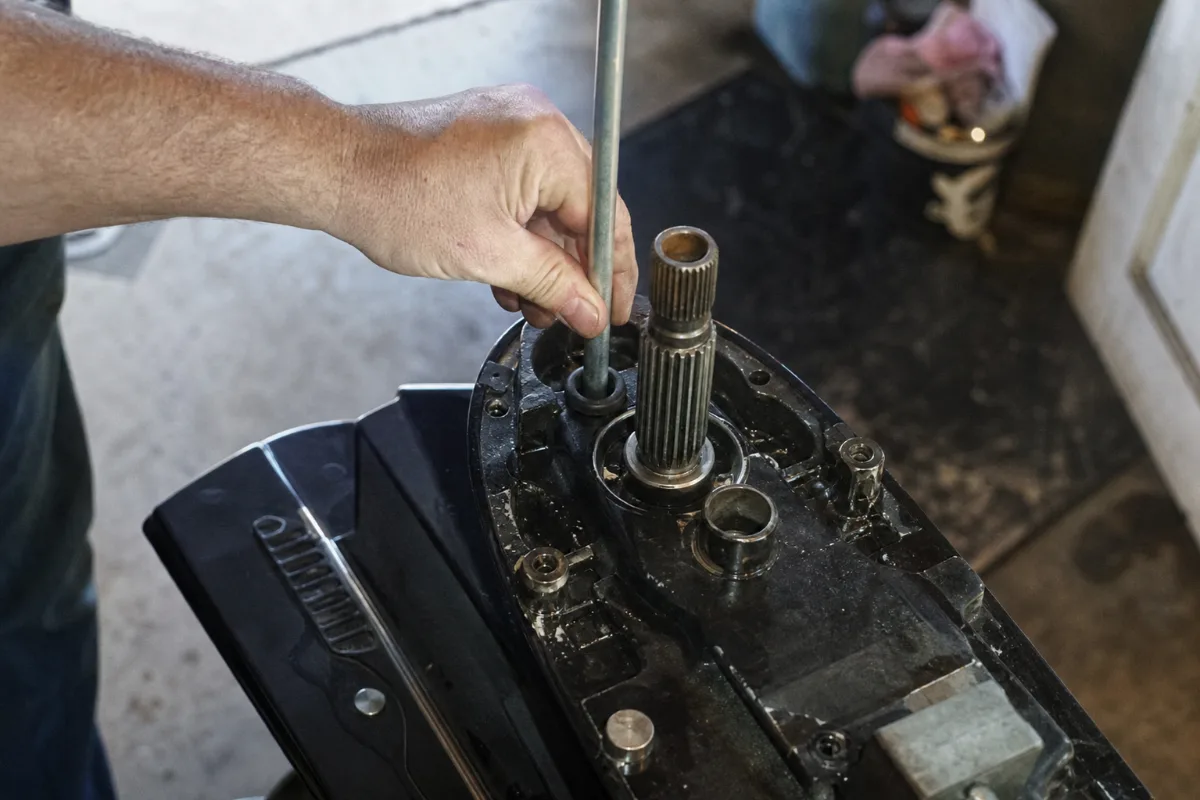
Reassembly is where this job goes quietly wrong, because the driveshaft splines and the shift shaft have to line up at the same moment the water tube slides into the grommet on top of the pump.
The water tube is the one that bites. If it misses the grommet, the lower unit bolts up beautifully and pumps no water at all, and you find that out when there’s no tell-tale stream. A dab of whatever lubricant your manual allows on that grommet helps the tube slip in instead of folding over. That bit is kinda hard to see, so go by feel.
Grease the driveshaft splines, and keep grease off the very top of the shaft. Grease trapped down in the crankshaft has nowhere to go, and it can stop the driveshaft from seating all the way, which throws off how the gears mesh. Your manual says this too, in fewer words and bigger letters.
Lift the unit up, wiggle it gently until everything finds its place, and start the bolts by hand. It’s a total pain the first time, and then it isn’t. Torque them to the manual’s values if it gives any. Refill the gear oil through the bottom hole with the top vent open, put both screws back in with new washers, and check underneath for drips. Then run the motor on the muffs and watch the tell-tale. You want a strong stream within a few seconds, and no puddle of gear oil under it an hour later.
Mistakes that cost people a lower unit
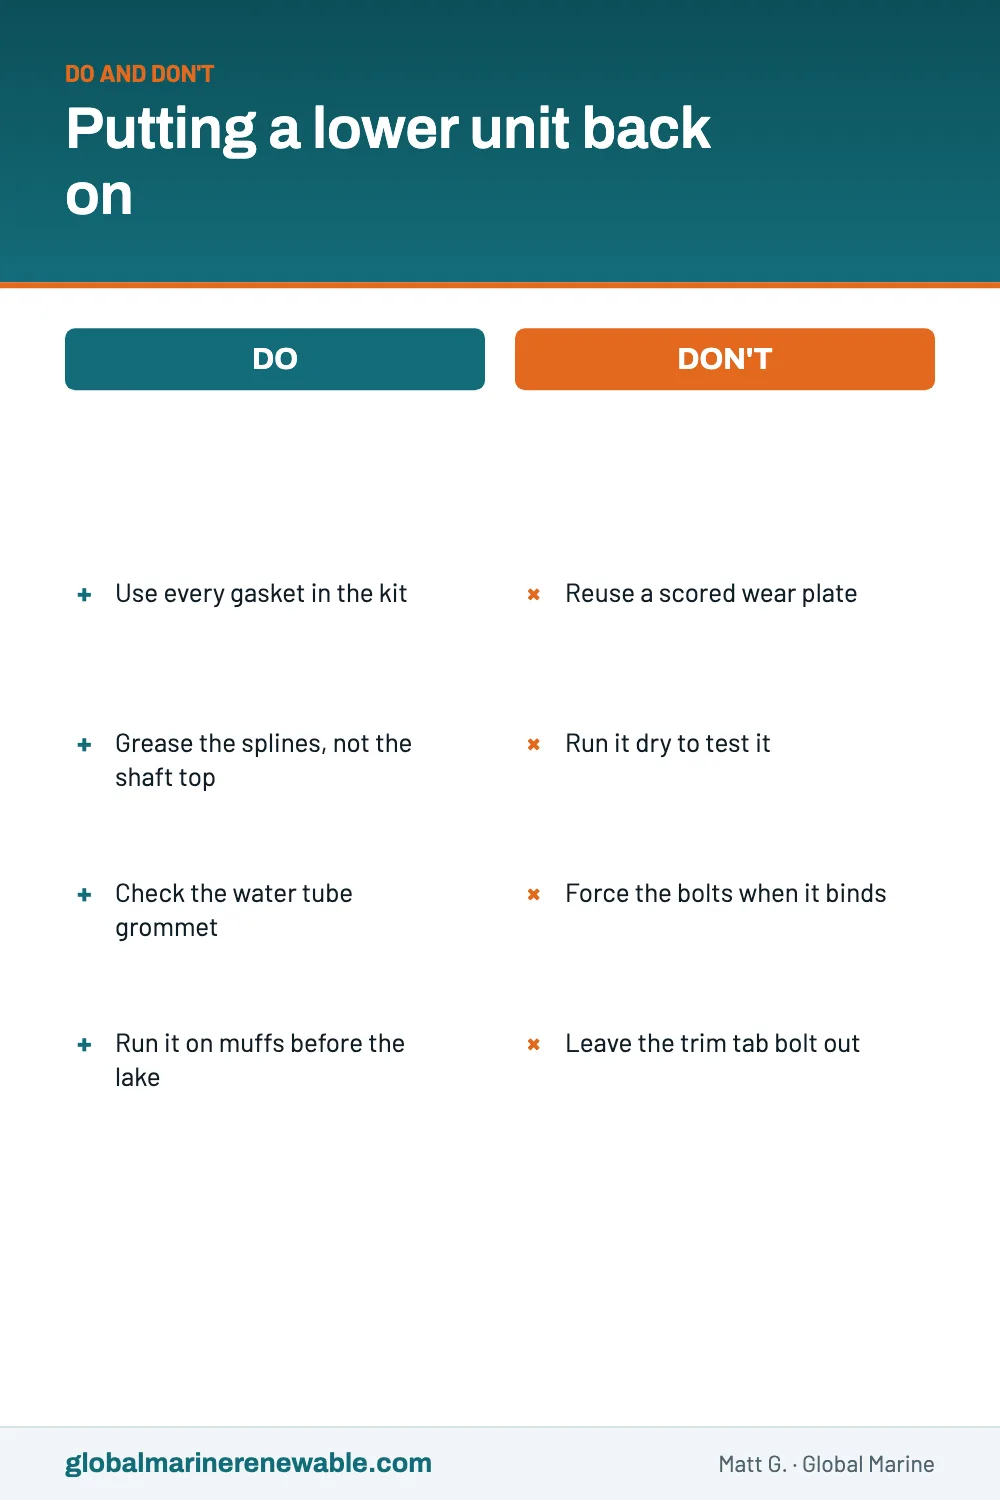
A few ways this job goes sideways, most of which I have either done or watched somebody do:
- Running it dry to test. A new impeller can be damaged in seconds with no water. Muffs on, water on, then start it.
- Reusing the old gaskets. They’re in the kit for a reason, and a leaking pump gasket means less water where it matters.
- Ignoring the shift linkage. On some motors the shift shaft height is adjustable, and getting it wrong means the motor shifts badly or not at all. That page of the manual is worth reading before the unit goes back up.
- Grease on top of the driveshaft. Covered above, and worth repeating, because it’s an expensive way to be helpful.
- Leaving the trim tab loose. If you took it off to reach a bolt, put it back in the same position. On bigger motors that tab affects how the boat pulls on the steering, and on a lot of small ones it doubles as an anode.
None of this is difficult, and I’d rather spend an afternoon on it than sit at the ramp waiting for a tow. If you have never had a lower unit off, take photos as it comes apart, keep every old part until the motor has run properly, and give yourself the whole afternoon. You’ll be fine.